I am one of those people who is not loyal to a particular smartphone platform. There are some people who say this, but truly, I switch between having an iOS based phone and an Android based phone every couple of years. I feel it is my professional obligation to ensure I am aware of the trends relating to smartphones in general, and so I switch.
I have recently switched to using the iPhone 12 Mini after using Android devices for the last couple of years. I love that Apple has added a smaller phone again to their current range, as I like to be able to fully use a phone one-handed as I walk along. It is great that this phone supports 5G. Unfortunately, I am also deeply missing having a back button on the device.
It is a little bizarre to me that I need to explain this, as I’ve come to realise that some people who have exclusively used Apple iOS devices for their entire lives don’t even realise that Android devices have a back button. This is an on-screen, virtual button (it used to be a physical button) that you can tap to take you to the previous screen you were on, and can keep tapping it until you get back to the home screen. It is conceptually the same as the back button in a web browser. Now, I am aware that some recent Android devices have started to do away with the back button also, but I am choosing to believe that this is just a short-lived fad.
The Android back button is just a simple user interface element, that it is only when it goes missing do I realise how much navigational heavy-lifting it provides. At any point, in any app, you know exactly where to tap to exit the screen you’ve ended up in. There is no need to figure it out based on visual cues that an app might choose to show. Just like in a word processor (or really any application that allows you to create things), you know you can always Undo, and it’s always the same mechanism. There’s not a different way to Undo a typo compared with an accidental deletion or a formatting glitch.
On the iPhone, the way to leave a given screen is up to the app and can be quite inconsistent. The emerging approach is to use the left-to-right swipe gesture, which is quite elegant, although there is no visual indicator that this will work so you need to be told about it, and also be prepared for it not to work at all. It would be great if it simply worked all the time, the way the Android back button does. So, this post is also a little bit of a plea for something like that to happen.
I suspect that people who are regular Android users don’t need to be convinced, so my audience is more iPhone users who don’t realise how inelegant the user experience is. Hence the rest of this post will be actual examples showing what I’m talking about using screenshots from my current iPhone device.
Above is a screen within the Messages app. It has a place on the screen in the top left corner with a “<” symbol so that we know that we can go back to the previous screen in the app by tapping this. We can also do a left-to-right swipe to achieve the same thing. So far, so good.
However, say we arrived at the Messages app by searching for the app rather than tapping on its icon in the home screen…

In this case, there is now also a little label “◀ Search”, that, if we tap on, takes us back to the search box. Tapping the “<” takes us to a different screen in the Messages app, and so does left-to-right swipe. So, it’s a little bit messier, but at least there’s a convention that the “going back” options are in the top-left corner, and left-to-right swipe does the same as “<“. Or maybe not.

This is a screen within the Photos app, displaying a cute pic of my parents’ dog. There is a “<” in the top-left corner to take us back to the photo Library within Photos. However, doing a left-to-right swipe doesn’t do the same thing. Instead, it scrolls to the photos immediately to the left of the displayed photo. So, the swipe gesture isn’t reliable, but is the position of the “going back” option in the top-left of the screen reliable?

Well, this screenshot is from the Safari app, where the “<” symbol is shown at the bottom-left. Although, this little bar of symbols disappears as we scroll through a page, and is shown only when we then scroll up. However, in this case the left-to-right swipe does perform the same action.
Now, tapping on the rightmost icon to show the open tabs…
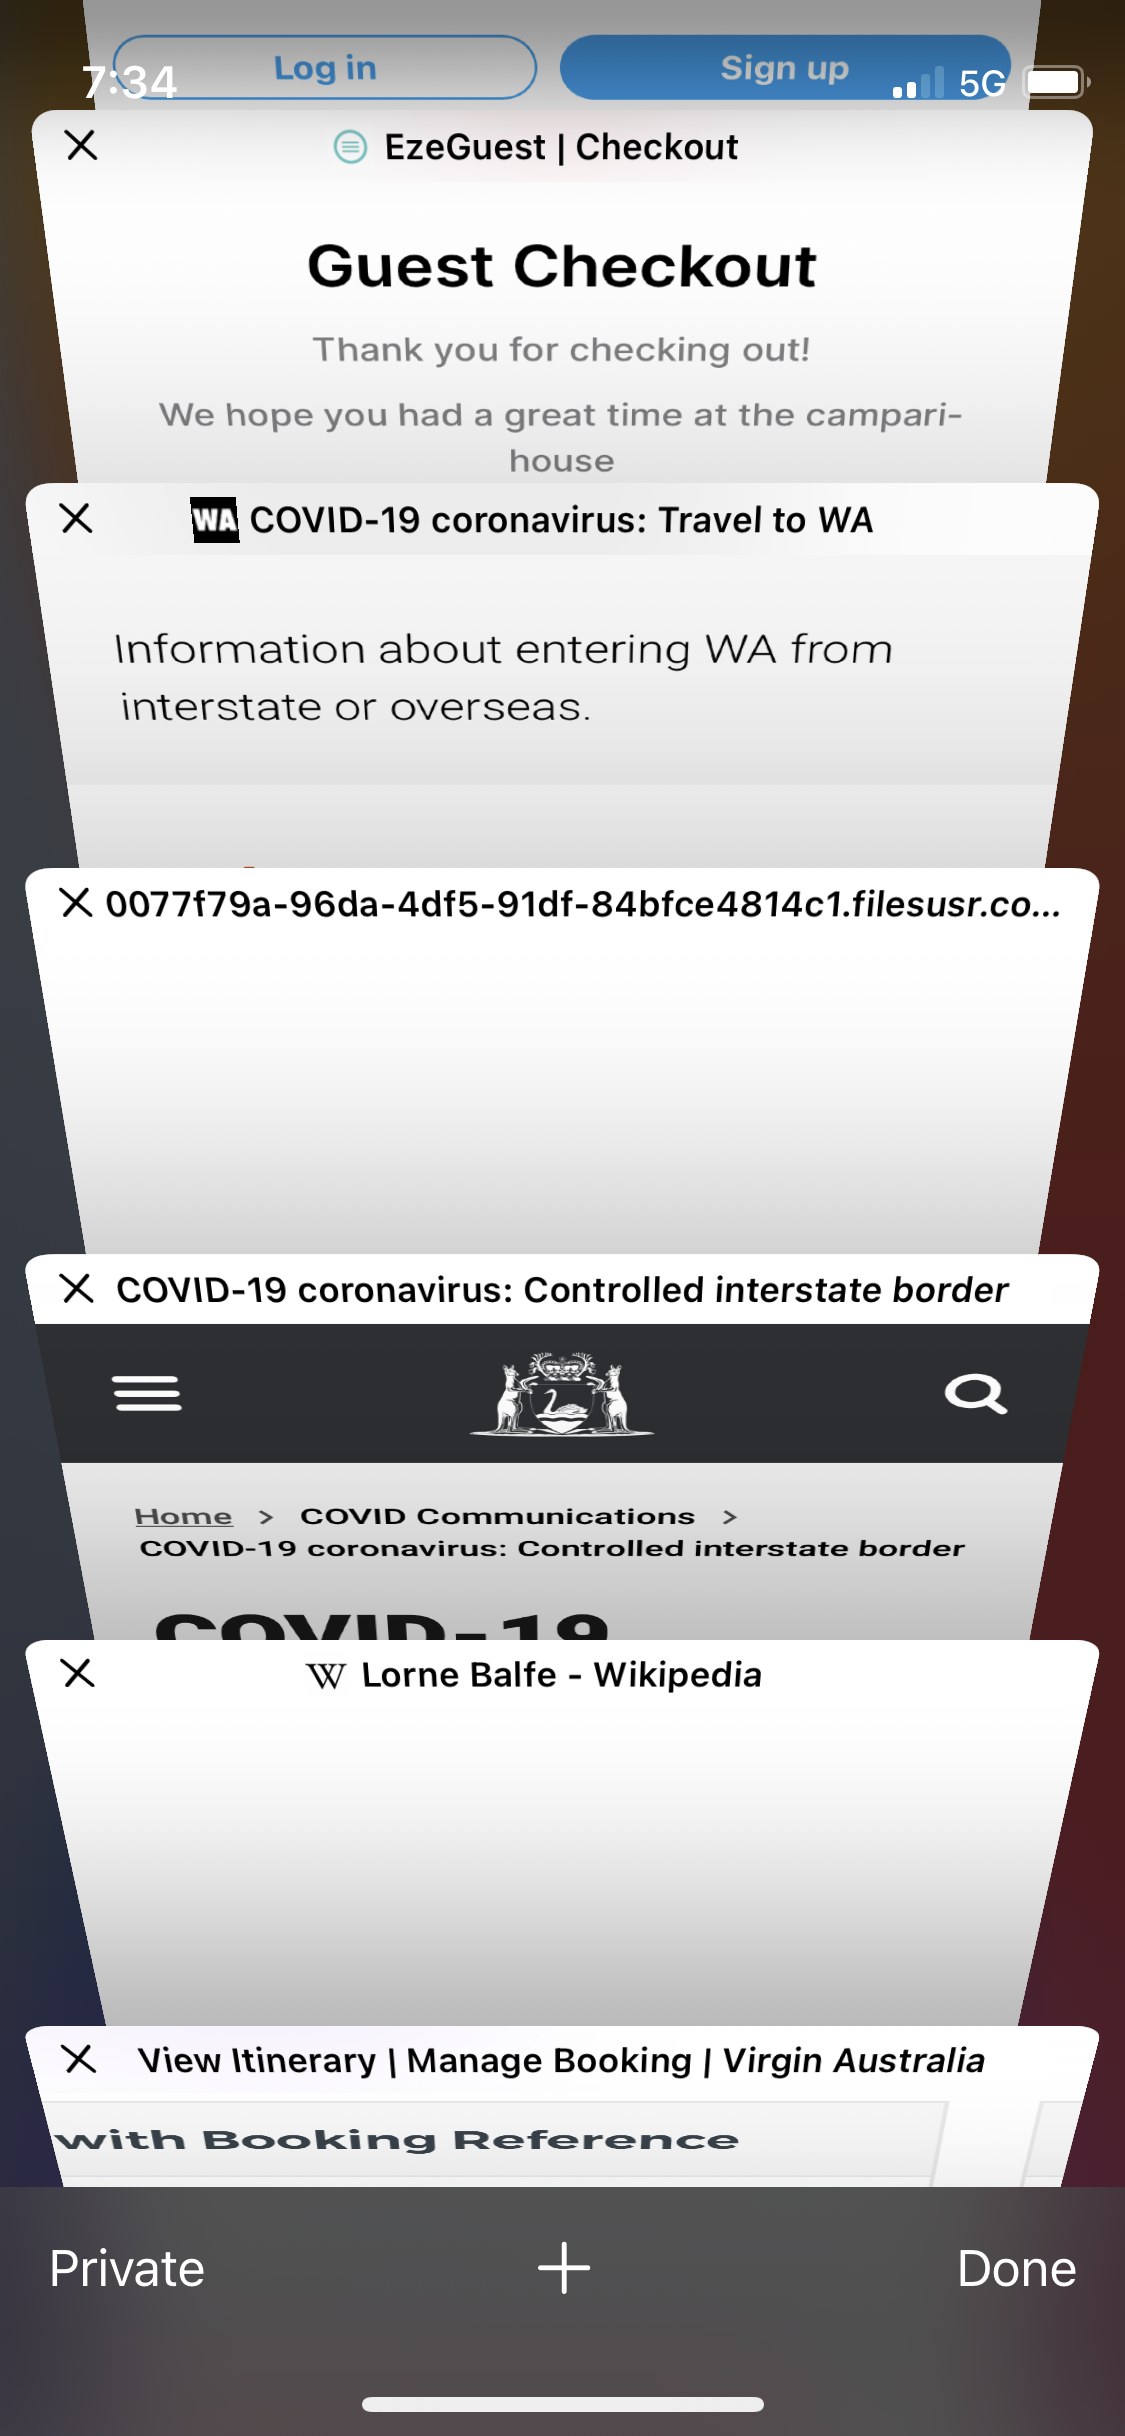
This takes us to a visual display of the open tabs, but to exit this and return to the previous browser screen, we need to tap “Done” in the bottom-right corner. Additionally, left-to-right swipe doesn’t navigate us anywhere, and risks closing one of the open tabs if we’re not careful. We’ve now found exit prompts in three out of the four corners, but can we find an example of it in the top-right corner? Why, yes.
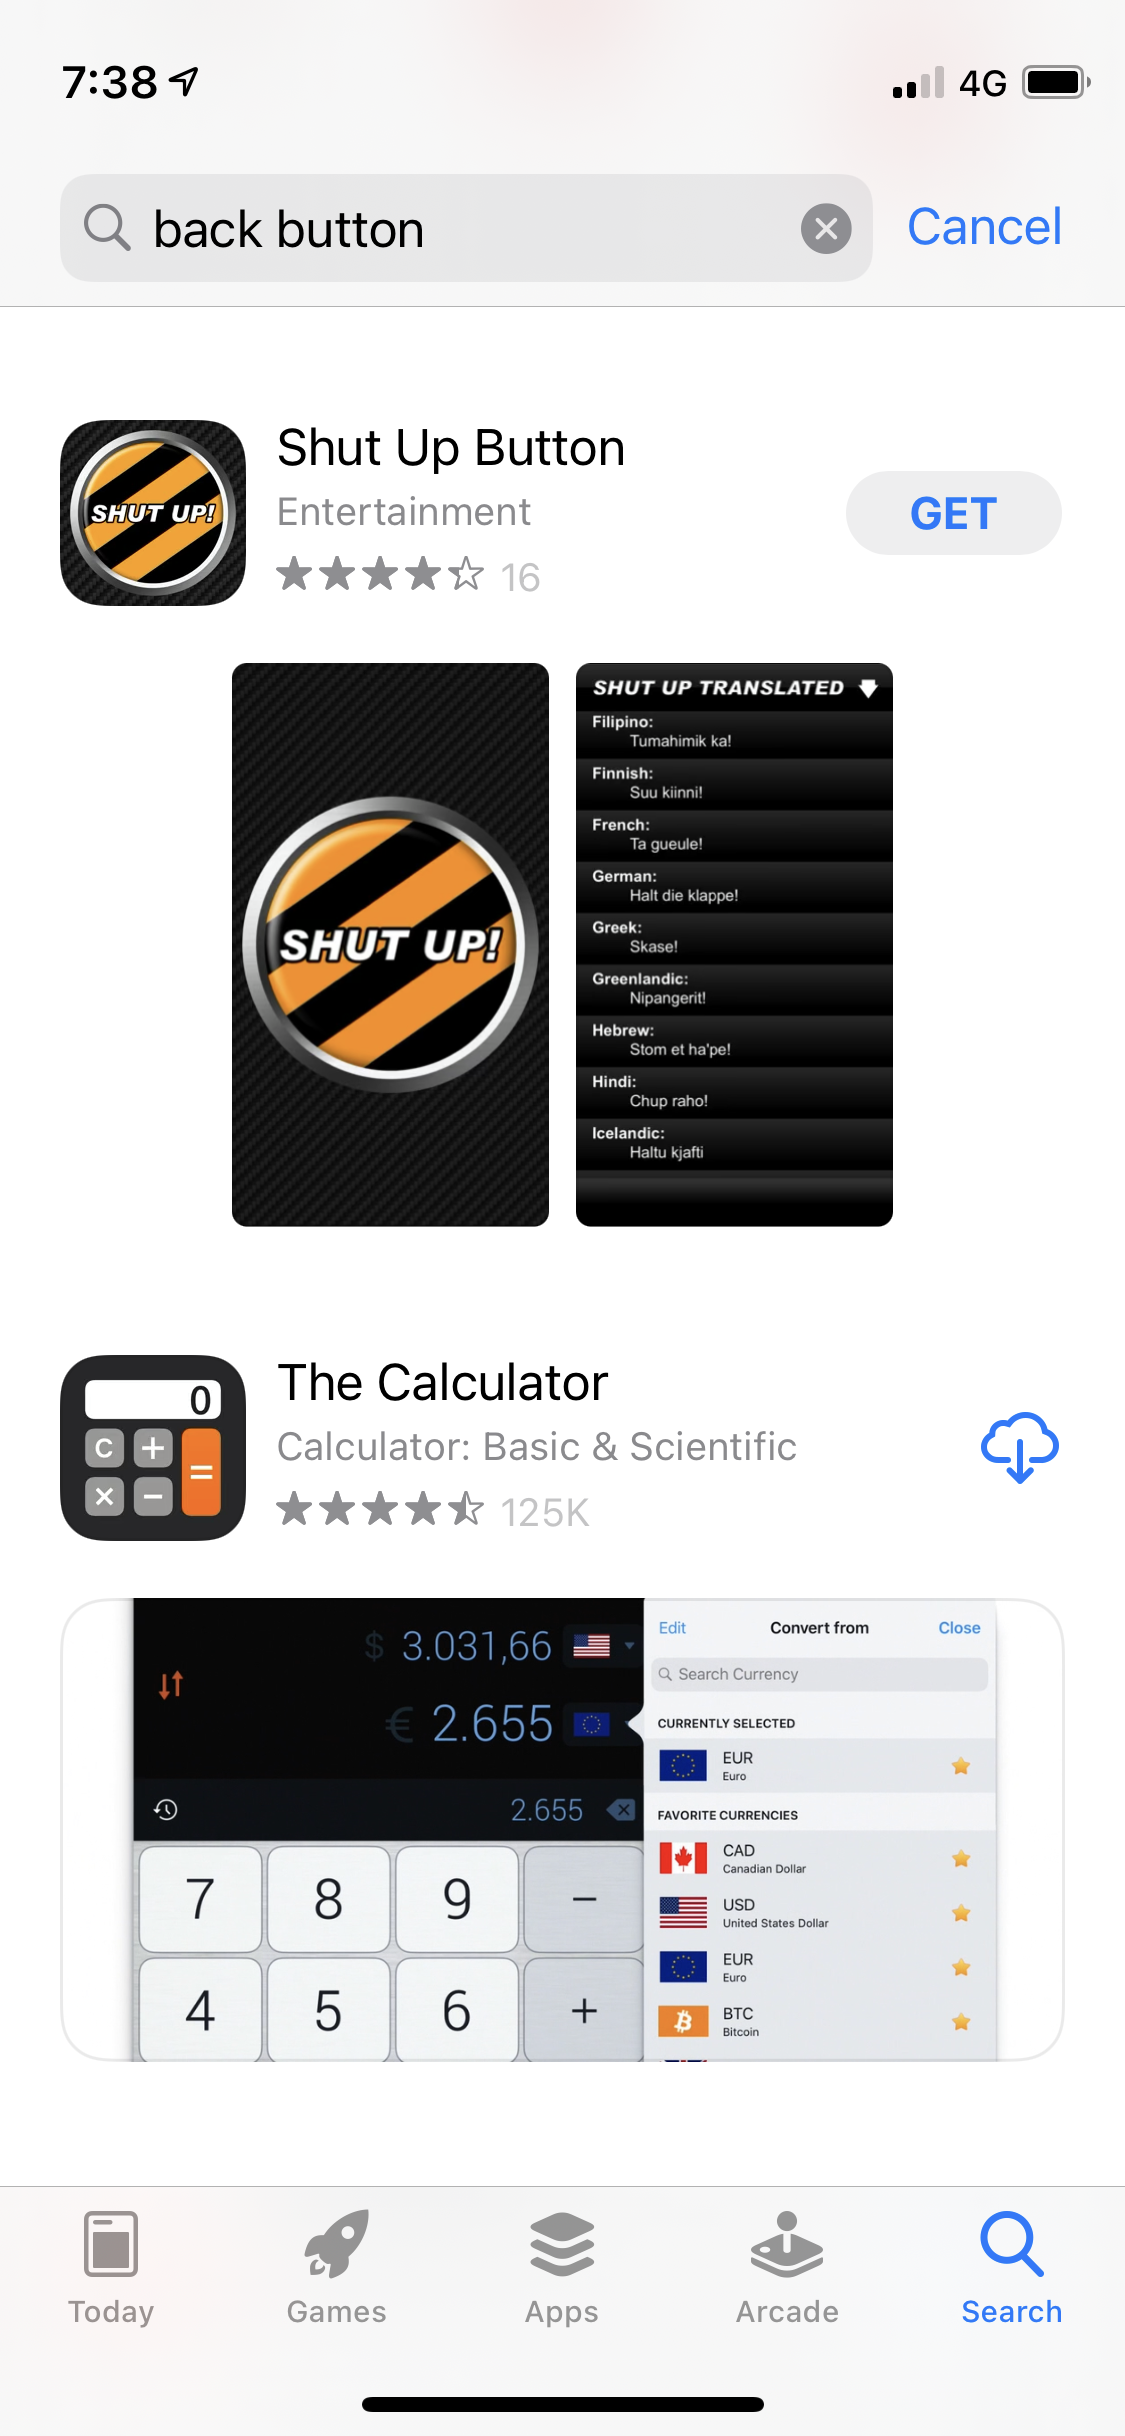
This is a screenshot from within the App Store app. If you are on the Search screen, and have searched for something of interest, but then change your mind, the only way to navigate back to the main Search screen is to tap “Cancel” in the top-right corner. Left-to-right swipe doesn’t do it either, unfortunately.
There are other examples we could look at where there is instead an “X” symbol or the word “Done” in the top-left corner, and the left-to-right swipe doesn’t work in these cases either. I hope you’ve gotten the idea.
There is no consistency around which corner the “no, I want to stop and go back to where I was before” symbol or word appears, or even what the symbol or word should be. Sometimes the left-to-right swipe works, sometimes it doesn’t, and sometimes it could scroll within the content or even delete it. There is actually an alternative that provides a single, consistent mechanism, and it’s called a back button.
Long ago, in 1987, Apple introduced something called HyperCard, which was software for the Apple Mac computers of the time. HyperCard was a huge thing and has influenced many aspects of computing we still use today, including web browsers. Instead of screens or pages, HyperCard displayed “cards”, and the cards were arranged into what it called “stacks” (although we would call them apps or web sites). Most relevant to our discussion, looking at the HyperCard user manual from 1987, there is this interesting snippet on page 5:
You can always go back: Another way to see the previous card is to press the Tilde key. Stacks in HyperCard often link to each other (a concept you’ll learn more about later). While the left arrow brings you to previous card in the stack you’re looking at, the Tilde key brings you to the last card you saw, no matter what stack it was in.
So, yes, Apple pioneered the concept of a back button. It is time to bring it back.