I was late to lockdown-driven sourdough baking. It wasn’t until Melbourne’s second lockdown, in August 2020, that I finally got on the sourdough bandwagon. However, I have kept my sourdough starter alive since then, so I’ve achieved the ten-month milestone!
Still, if I was to share my starter with someone else, or, not that I want to think about it, fell sick and someone else needed to keep it going, my sourdough regime isn’t documented anywhere yet. This post is intended to record what I’ve been doing, and it’s a little bit different to other sourdough feeding approaches that I’ve read online.
It’s not radical or anything. It just suits me and my needs in two ways. Firstly, the sourdough starter is gluten-free. Secondly, it is pretty cheap given that it gets minimal feeding – only 20g of flour each week – unless I’m baking something.
Before I describe it, I’d like to credit my main inspirations for the technique I use:
- Homestead and Chill suggested the half-and-half mix of brown rice flour and sweet rice flour (a.k.a. glutinous rice flour).
- King Arthur Baking Company showed me that you can maintain a sourdough starter at just 60g.
Feeding Regime
I keep my sourdough starter in the fridge, and then one morning on the weekend, I remove it and allow it to warm up. This allows the starter to get active again, and after a few hours, it will be creating bubbles.
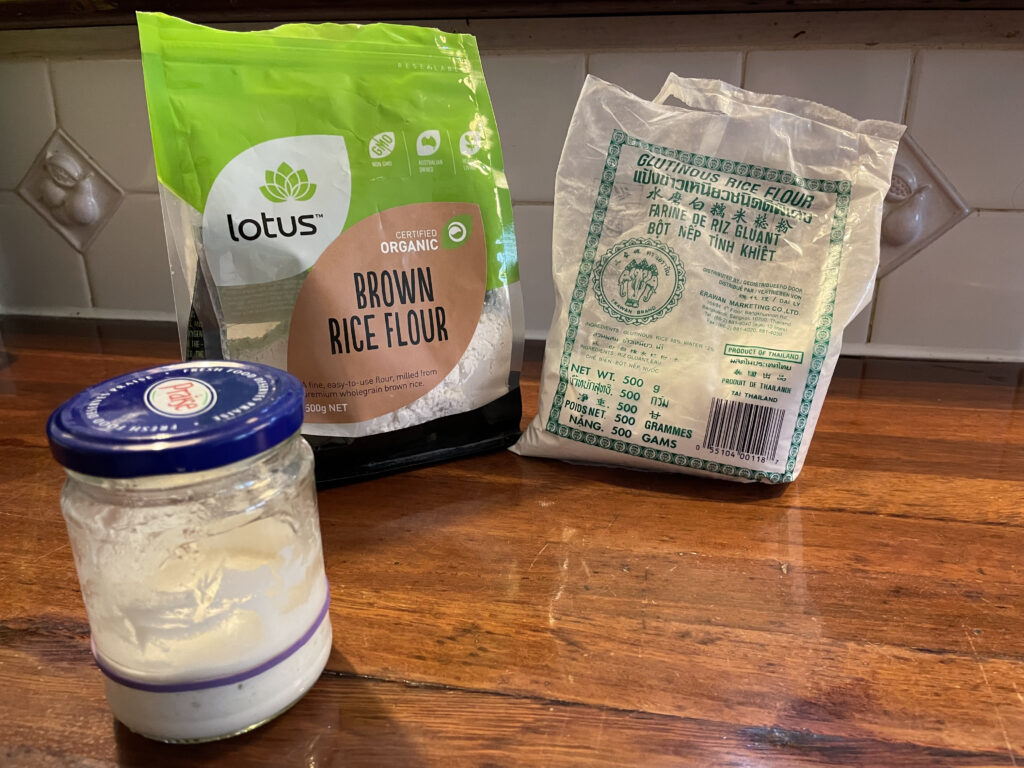
As you can see here, I keep my sourdough starter in a small glass jar, and mark the fill level with a rubber band, in traditional style. In this picture, it has risen a little and looks bubbly. Note that this is basically as bubbly as it gets, unlike many pictures of other sourdough starters that you see online. However, it still seems to work perfectly fine for baking.
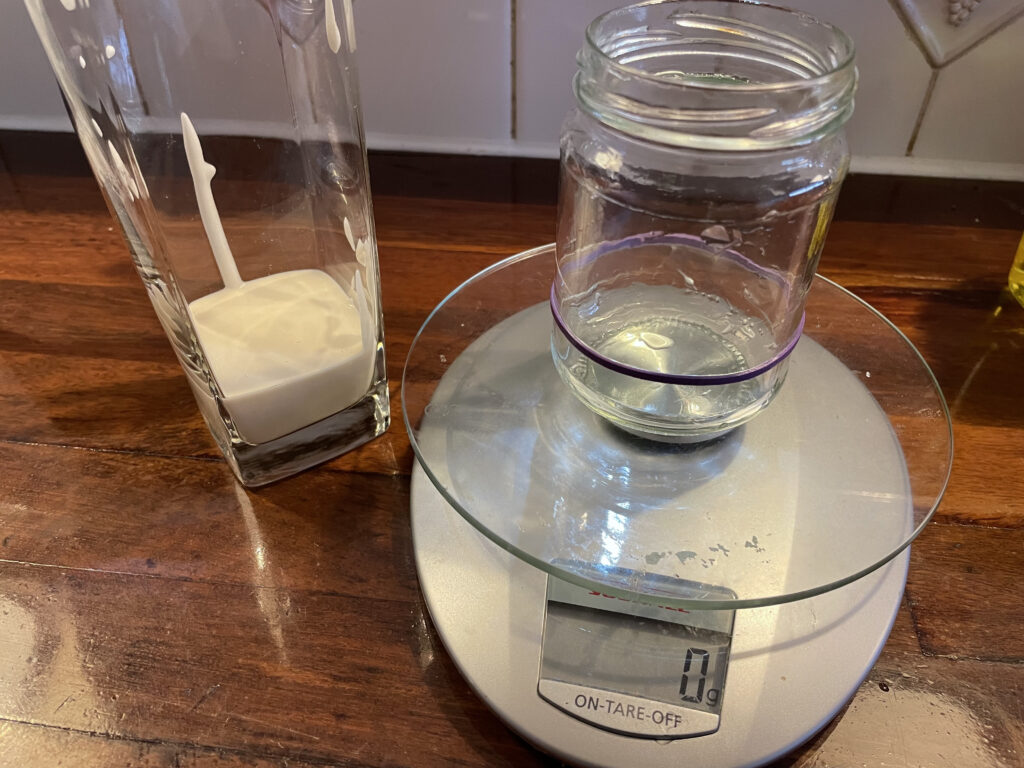
The first thing I do is open the glass jar and smell it. It should smell sweet and yeasty, but if it doesn’t, I throw it out and use some of my earlier discard (see below), but I’ve had to do that only once. Next, I stir it with a fork, and scrape out the glass jar into a drinking glass that is good for pouring. I then give the glass jar a good rinse and put it on the kitchen scales. The scales need to be pretty accurate, and the ones I have are accurate to about 1 gram.
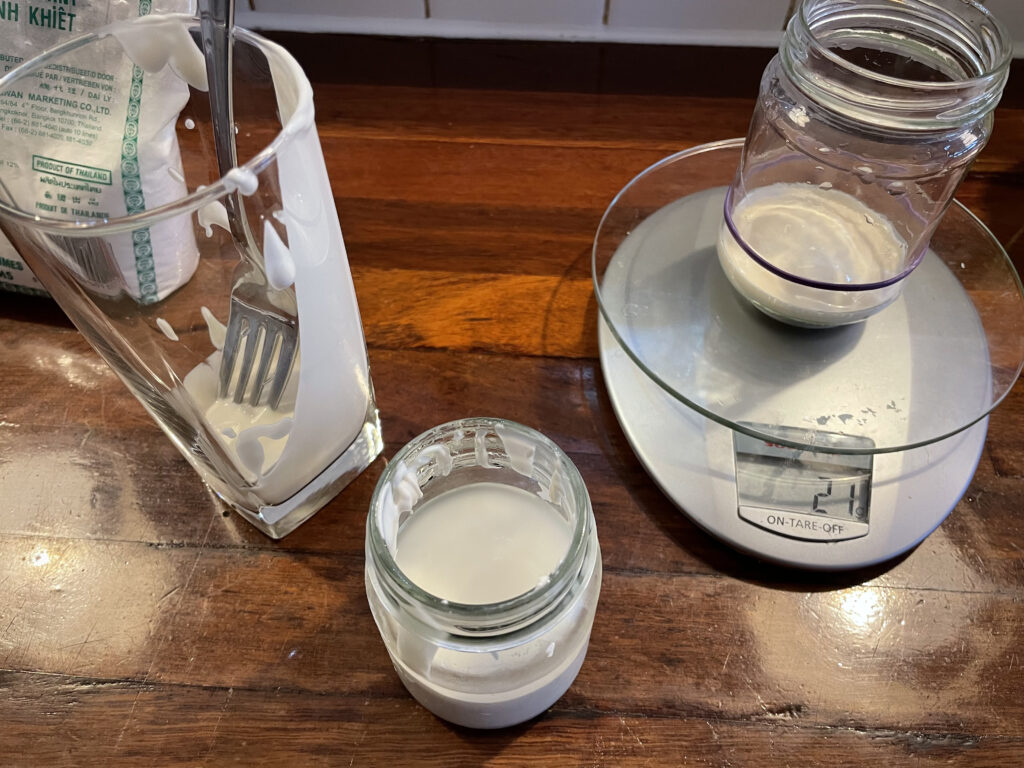
I measure 20 grams (or close to it) of starter back into the glass jar, and scrape the rest of it into another jar that I use to keep the discard. The discard jar holds up to about 180 grams, which is a good amount for some of the recipes that I use. The discard jar is always stored in the fridge.
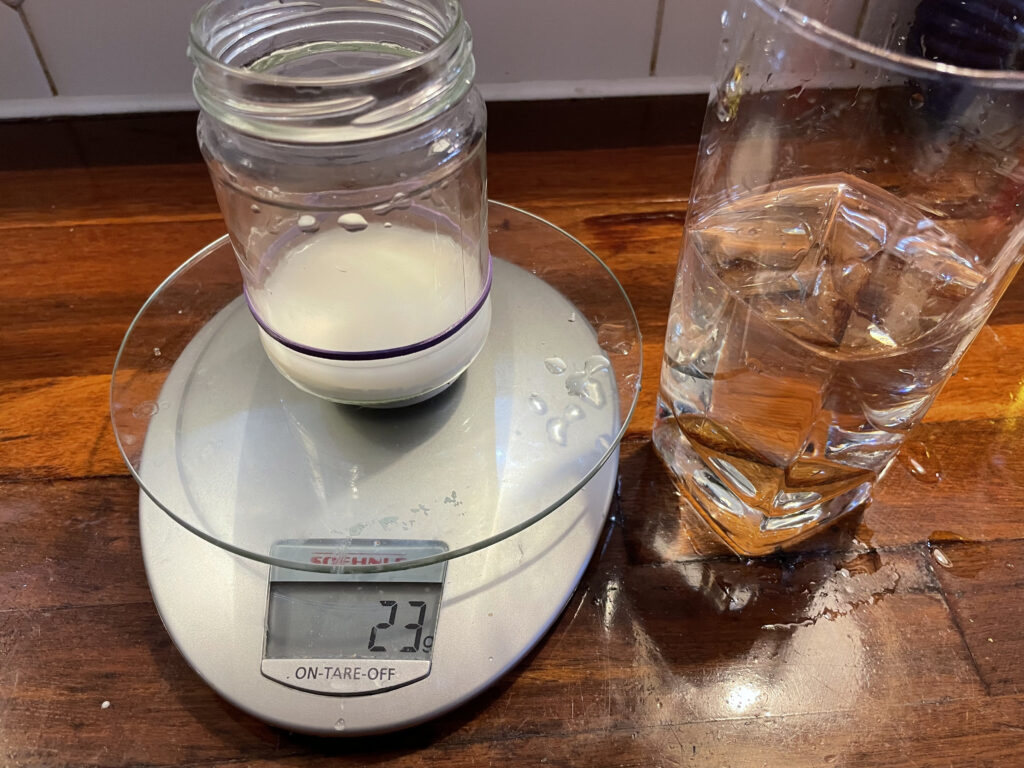
I now rinse out the drinking glass and partially fill it with lukewarm water from the tap. In Melbourne, the tap water is completely fine for sourdough. I pour about 20 grams (or a little more) of water into the glass jar, on top of the 20 grams of sourdough starter from before. Don’t tip out the rest of the water yet, though.
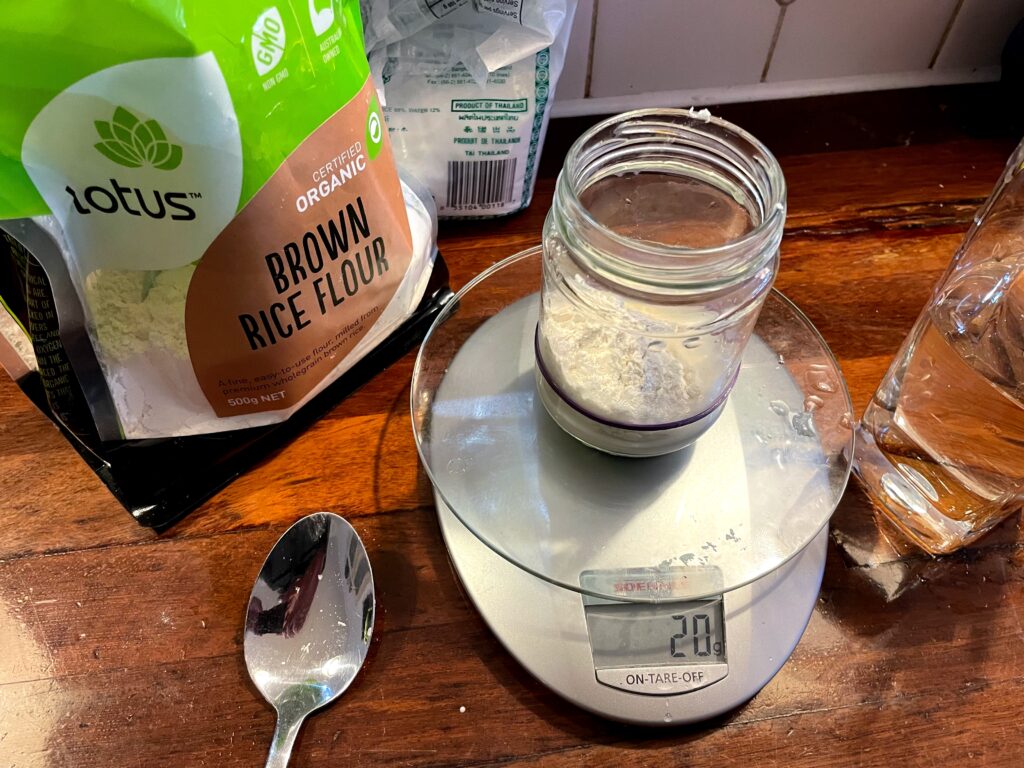
I now measure 20 grams of flour, which is equal parts brown rice flour and glutinous rice flour (also known as sticky rice flour or sweet rice flour). The glutinous rice flour is cheap and readily found at the supermarket. The brown rice flour is an organic brand, which helps ensure appropriate micro-organisms are being introduced.
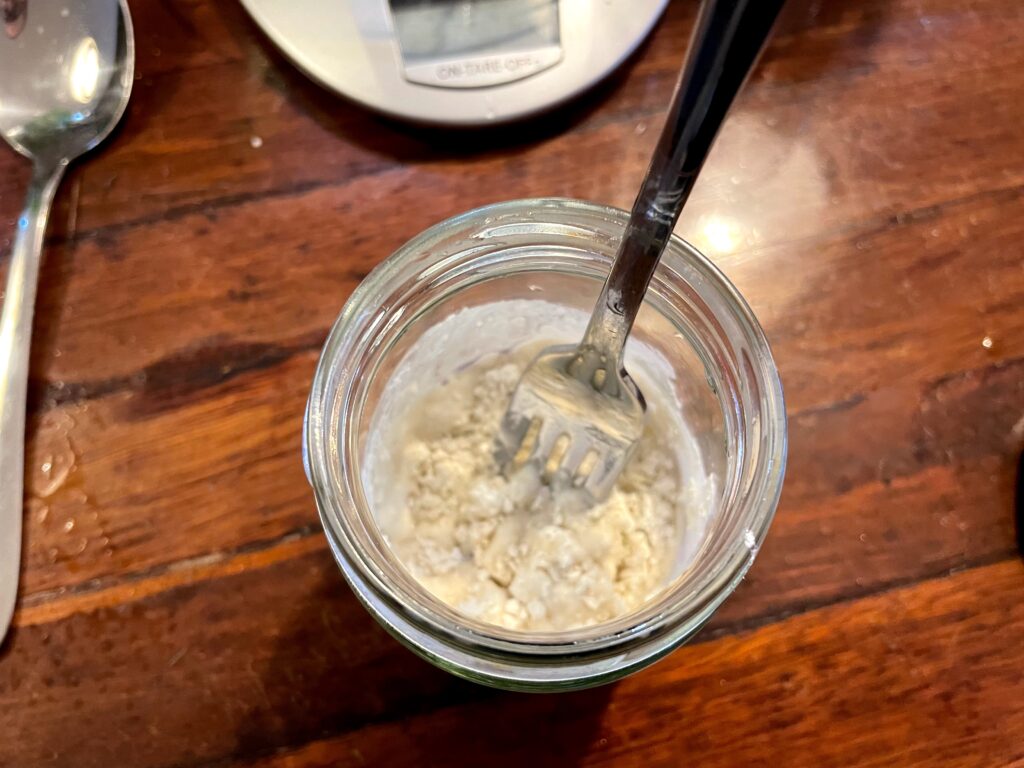
I mix it all together with a fork, and at this point, it may be too dry. If so, I spoon in a very small amount of additional water, until I can mix it into a smooth, thick paste.
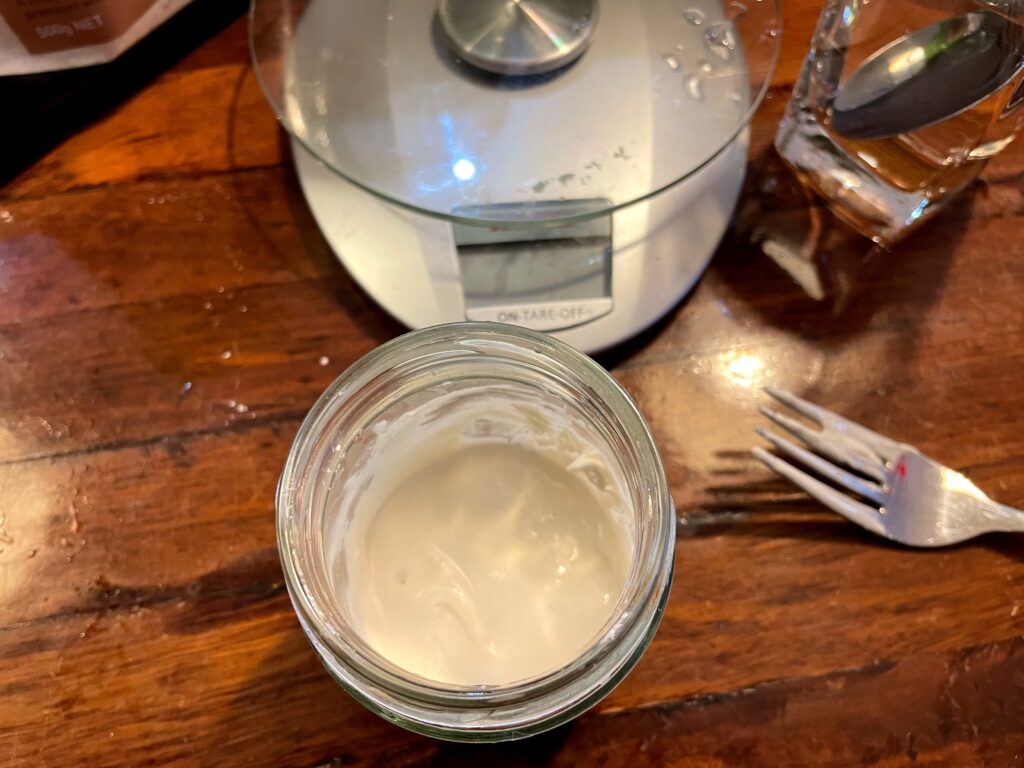
The result should be something like thickshake consistency, but it doesn’t hurt the sourdough if it’s a bit runnier. The weights given above are for a “100% hydration” sourdough starter, which is what most sourdough recipes assume, so if the starter is runny, you’ll need to deal with that when baking. However, if you’re not baking, you can just be more careful at the next feed, and the ratio should come right.
I leave the starter in its glass jar for a few hours until very tiny bubbles are just visible, and then I pop it back in the fridge for another week.
The way I’ve described this above, it probably sounds very finicky. In practice, it takes about 5 minutes of work per week, with the rest of the time spent simply leaving a glass jar on the kitchen bench or in the fridge. All up, it’s not much effort to maintain the sourdough starter so it can be used to bake amazing things.
Baking approach
If I’m going to do some sourdough baking, there are two things to address. Firstly, sourdough that is straight from the fridge needs some time to become properly active. Secondly, most recipes seem to assume there is 150 grams of starter available. These can both be dealt with together, but it does take a couple of days.
To get up to 150 grams, I remove the starter from the fridge and follow an approach similar to a normal feed as described, but with an intent to bulk up the starter rather than maintain the size of the starter. The glass jar won’t hold 150 grams of starter, so to bulk up the starter, I need to scrape it out into a bigger container. There is about 60 grams of starter in the glass jar, but in practice, about 50 grams can be scraped out.
So, you can do 50 grams starter + 50 grams water + 50 grams flour to get to the required 150 grams. However, this doesn’t leave any starter to continue with. In theory, you can use previous discard if there’s some, but I would do this as a last resort.
Instead, I put 20 grams starter back into the glass jar and feed it as usual (and put it back into the fridge), and put 30 grams into a new container, with 30 grams water + 30 grams flour, which gets to about 90 grams. I leave this for a full day, then discard 40 grams, and add 50 grams water + 50 grams flour, to get to 150 grams. It should be fine to bake with the next day, as it will be active and the right size.
If you’ve read through all of this and want to follow this approach yourself for gluten-free sourdough starter, I hope it was clear. Please let me know how you go!