The Australian government’s Department of Veteran’s Affairs has strict guidelines on what can be labelled with the term Anzac. Part of this requires that Anzac biscuits do not significantly vary from one of the traditional Anzac biscuit recipes. Although, it has been reported that “substitution of ingredients for people who are glucose or lactose intolerant” is permitted. Given all that, I think this qualifies as a legitimate Anzac Biscuit recipe, as it only varies from one of the traditional recipes to accommodate a need to be “gluten free”. In Australia, a gluten free diet is understood to also mean oat free, so both the traditional wheat-based flour and rolled oats ingredients need to be substituted.
This recipe is largely based on one from the Coelic Australia cookbook (4th Edition), but I’ve tweaked it after making it a few times. I love to eat Anzac biscuits, so with yesterday being Anzac Day, I’d ensured that I had a good supply to eat with a cup of tea!
Ingredients
- 1 cup (100g) quinoa flakes
- 1 cup (150g) gluten-free plain flour
- 1 cup desiccated coconut
- 125g unsalted butter
- 2 tablespoons (40mL) boiling water
- 1 teaspoon (5mL) bicarb soda
- 2 tablespoons (40mL) golden syrup
- 1 cup caster sugar
Method
- Heat the oven to 160 degrees Celcius, and prepare a couple of baking trays, covered with non-stick baking paper.
- Taste a couple of the quinoa flakes to see if they are bitter. (I was using Chef’s Choice brand, which were nice but had a slight bitter aftertaste.) If so, you’ll need to dry roast them in a non-stick saucepan over medium heat for up to 10 minutes until they have turned lightly golden, and the bitterness is gone.
- In a large mixing bowl, combine the quinoa flakes with the flour and coconut.
- Put the kettle on to boil, as you’ll need it shortly.
- Place the butter in a medium-sized saucepan over medium heat until it has just melted.
- Measure the bicarb soda into a heat-proof cup, then add the boiling water, stirring to dissolve the bicarb and set aside.
- Go back to the saucepan, and add the golden syrup and sugar to the butter. Stir constantly until the sugar is dissolved, and the mixture becomes like a thick sauce, but don’t let the mixture boil.
- Remove the saucepan from the heat, and pour the bicarb and water into the saucepan. Stir it quickly, and it will froth up. Pour it onto the dry ingredients in the mixing bowl, and combine thoroughly.
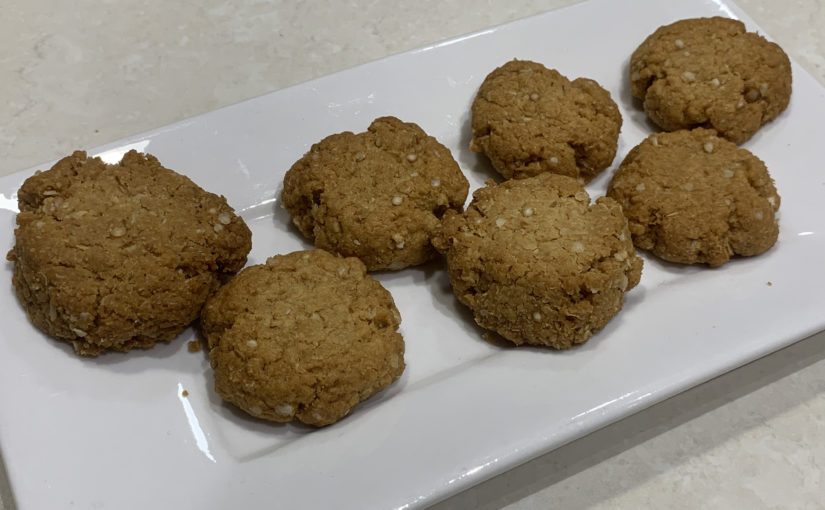
- Form the mixture into balls, about the diameter of a 20c piece, and place on the baking trays. Flatten slightly with a finger or spoon.
- Bake biscuits in oven for about 10 minutes or until golden.
- Remove biscuits from oven and allow to cool on the tray for a couple of minutes before removing to a cooling rack to allow to fully cool.
- Consume with a cup of tea.
Makes 24 – 30 biscuits.
